

Our gear tends to break exactly when we donтАЩt want it toтАФmiles down a trail or on the side of the road, far from help. Fortunately, most mishaps can be fixed as long as you have the proper tools and a little know-how. Here are step-by-step instructions to fix five common gear issues. If youтАЩre looking for our favorite gear repair kits, we have that too.
Patch a Puffy Jacket
What youтАЩll need: Gear repair tape, scissors, rubbing alcohol, and a towel
First things first, never pull out the feathers. In fact, try to restuff as many feathers back in the jacket as possible. If you have them, tweezers work great for this. Next, cut the gear repair tape big enough to cover the hole, leaving about one inch around all sides. We recommend , which comes in a roll so you can easily cut it to any size, or , which come in fun patterns and colors. Next, clean the area around the hole to help the tape stick. If youтАЩre on the trail, a little water will work, but if youтАЩre at home, rubbing alcohol is preferred. Finally, apply the tape, press out any air bubbles, and let it sit a few hours to create a strong seal.
Clean a Climbing Rope
What youтАЩll need: Mild soap; a deep bucket, sink, or tub; and warm water
Start by filling a bucket or sink with warm water, and add a tablespoon of mild soap like Dawn or . Place your rope in the tub and work it around, making sure to pull the entire length of rope through your hands to catch any lingering dirt. Next, drain the tub and refill it with clean water to rinse your rope. Repeat this process until the water runs clean. Lay the rope out on a towel to dry, making sure to avoid direct sunlight, which could damage your rope. Be sure the rope is 100 percent dry before storing it again.
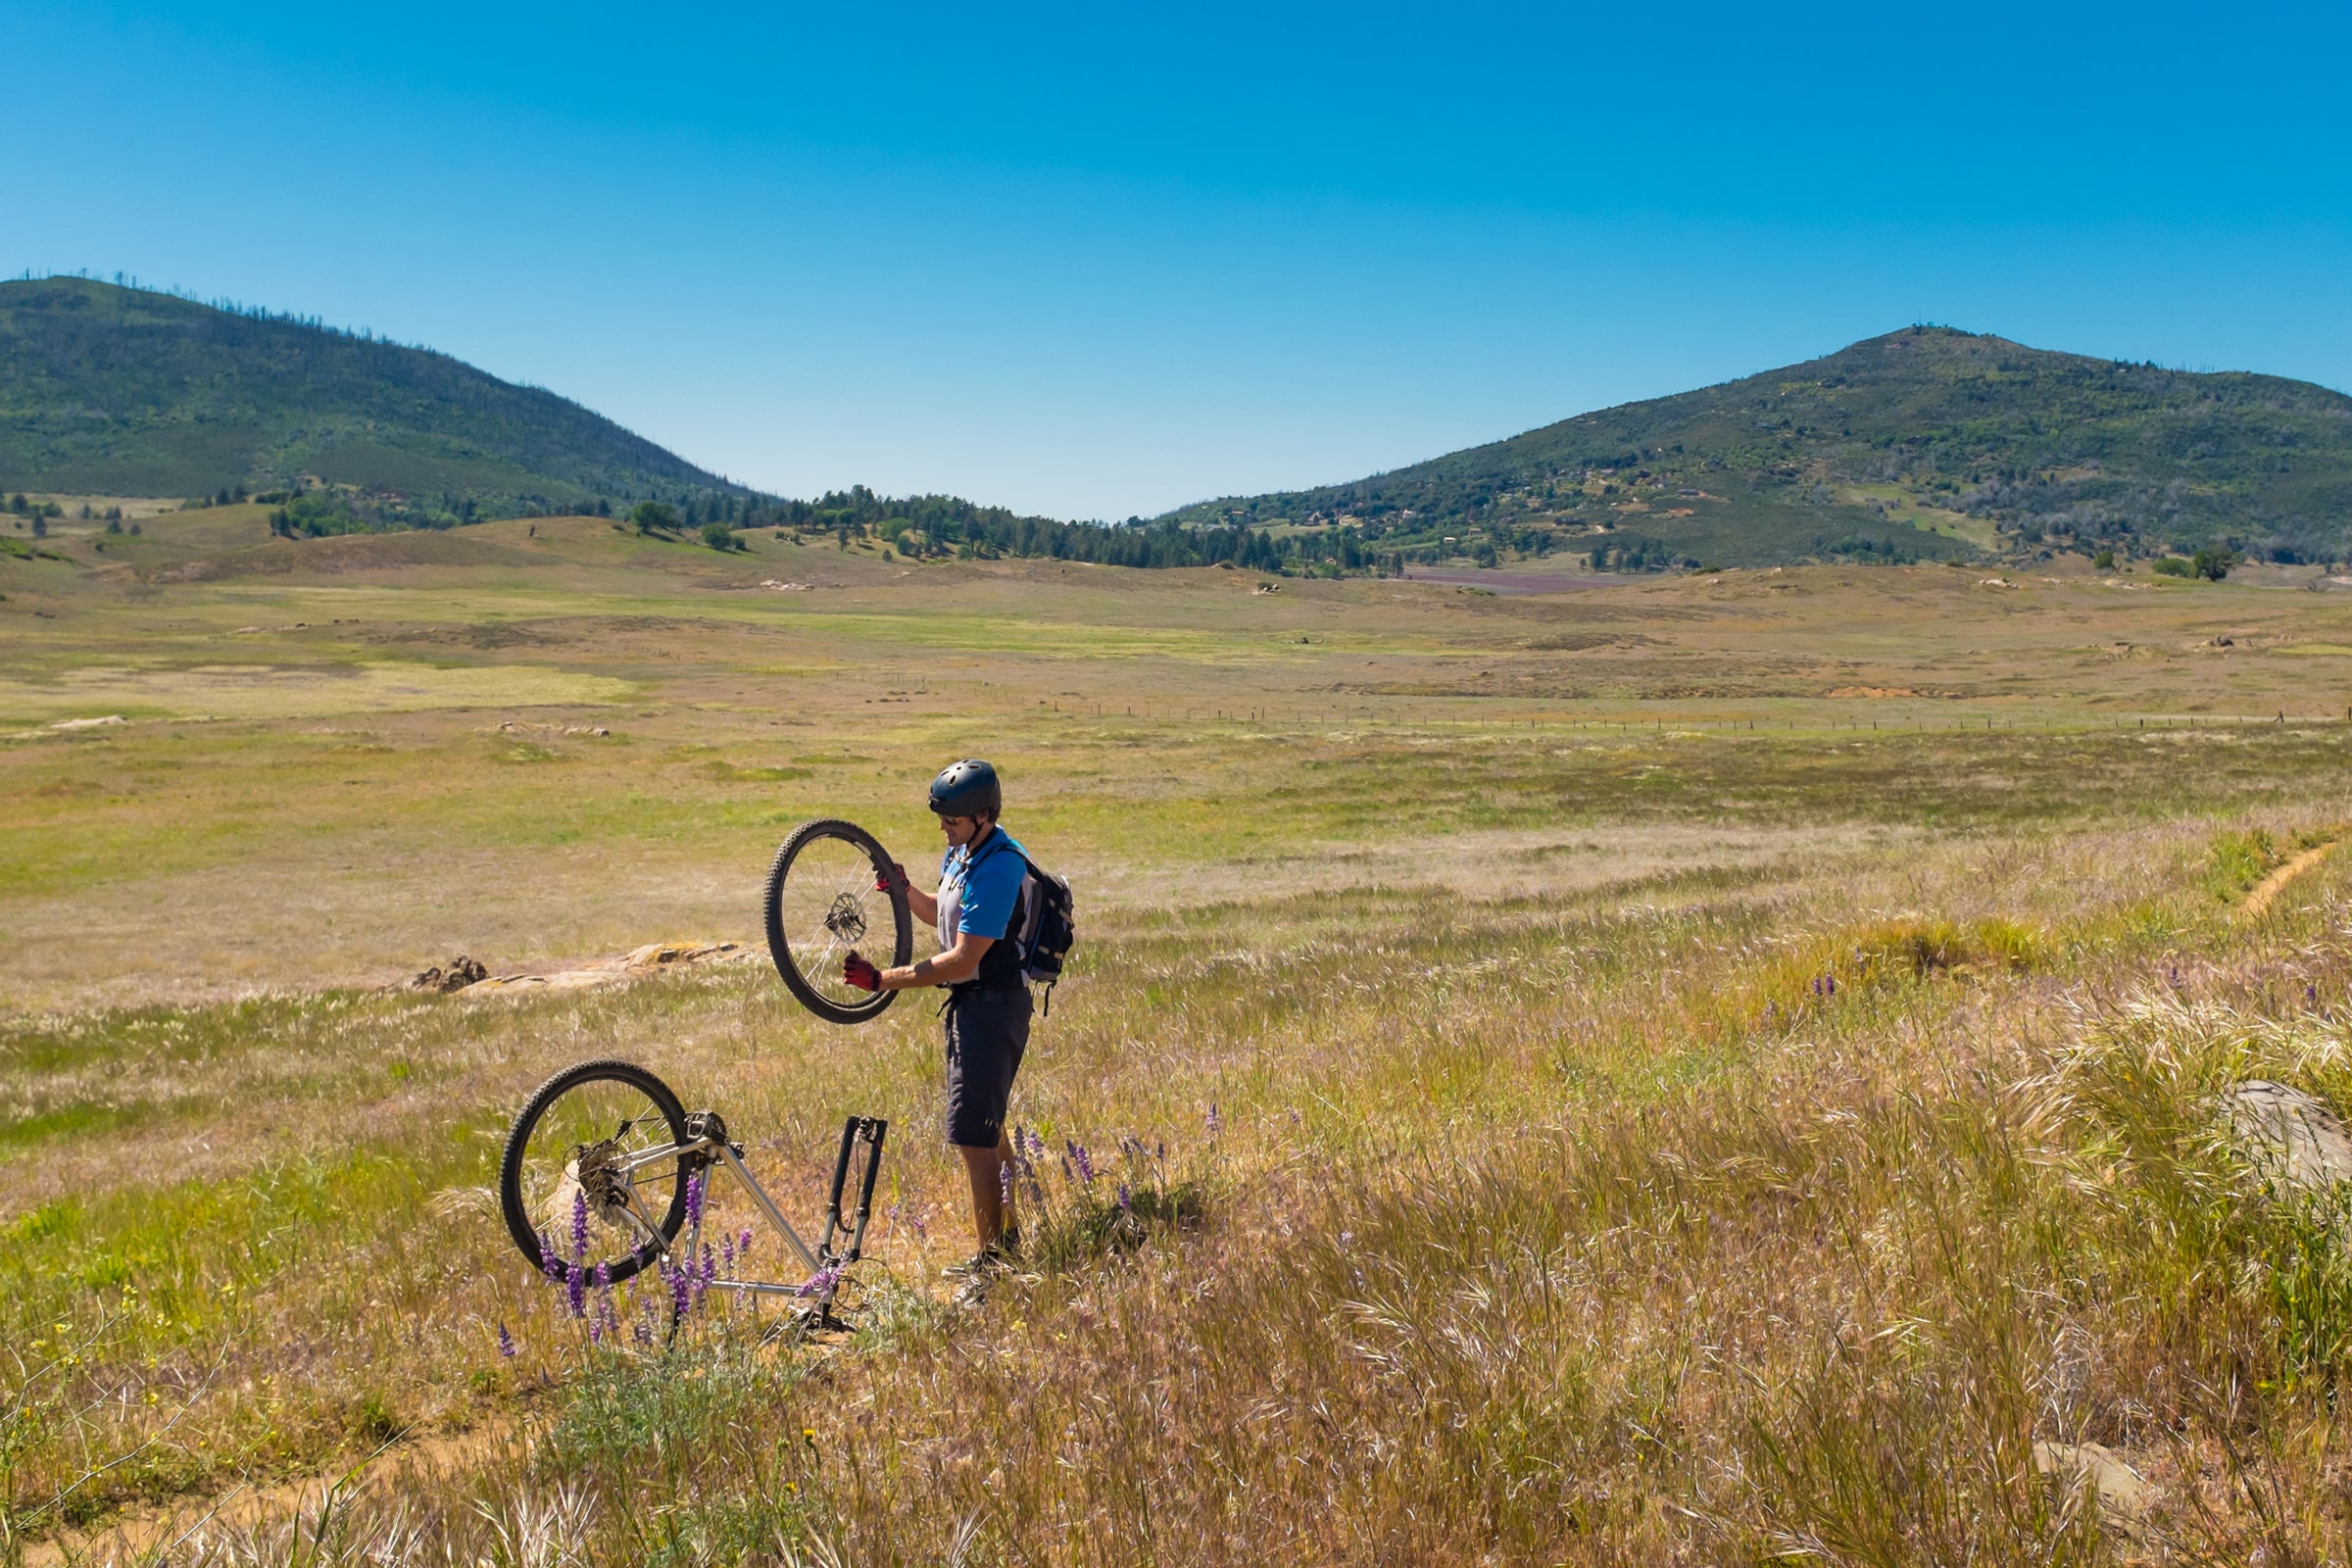
Fix a Flat Bicycle Tire
What youтАЩll need: Tire lever, pump, patch kit or new bike tube
Remove the wheel from the bike. Fully deflate the tire by pressing in the valve pin. Insert a between the rim and tire and slowly work it around the rim to separate the rim from the tire. Remove and inspect the bike tube and tire for any obvious holes that could be repaired. Small holes can be identified by pumping up the tube and listening for the sound of air escaping. ItтАЩs also important to look for the cause of the hole. Whether itтАЩs a nail or thorn, if itтАЩs lingering around, it could produce another hole in your new tube. Once you locate the hole, follow the instructions on the patch kit to clean the area around the hole, rough it with sandpaper, and apply the patch.
If you have a spare tube and want to forgo patching the flat one, start by partially inflating it to give it shape and ensure that it holds air. Line up the valve with the opening in the rim, and slide the new tube inside your tire. Using your tire lever, make sure that all sides of the tire are safely inside the rim and nothing is pinching your new tube. Then, inflate the new tube to its recommended PSI.
Repair a Broken Tent Pole
What youтАЩll need: Pole repair sleeve or tent stake and duct tape
Start by lining up the broken sections of your tent pole. If your pole is bent but not broken, carefully straighten the pole first before repairing. You can do this by bending it over you knee or gently stepping on it. Next, slide the tent-pole repair sleeve over the damaged area, making sure the damage is in the middle of the repair sleeve. Wrap each end of the tube with duct tape to keep your repair in place. If you donтАЩt have a repair sleeve with you, you can also use duct tape and a spare tent stake to create a splint.
Fix a Pilled Flannel or Jacket
What youтАЩll need: Cheap razor without a lotion bar, paper towel, and a lint roller
Start by laying your affected garment on a completely flat and hard surface. Pull the fabric taut with one hand, and gently drag the razor across the fabric with your other hand. Work on one section at a time to prevent cutting through your garment. Wipe off the razor occasionally. Once youтАЩve removed most of the visible pills, use the lint roller to remove any remaining fabric particles.