


You probably don’t camp under a tarp. Modern tents have gotten so light, affordable, and easy to set up that they really are the best option for most of us. But there’s a contingent of experienced backpackers who prefer the old-school, military-style structures for their portability and versatility.
“We use them frequently in temperatures ranging from freezing to 100 degrees Fahrenheit,” says Erika Halm, Washington program director for . “They are awesome for really hot nights because they provide excellent airflow compared to a tent or bivy sack. They can be used very successfully in snow, and if set up correctly, a tarp can keep you dry in even heavy rain.” Plus, they’re ultra-light, with no poles, flies, zippers, or pouches.
Here’s the cool thing about these shelters: you probably have most of the necessary materials in your garage. You’ll want a tarp, cords, stakes, a ground sheet, and netting. The whole setup costs about $35 at Home Depot and pitches in four easy steps.
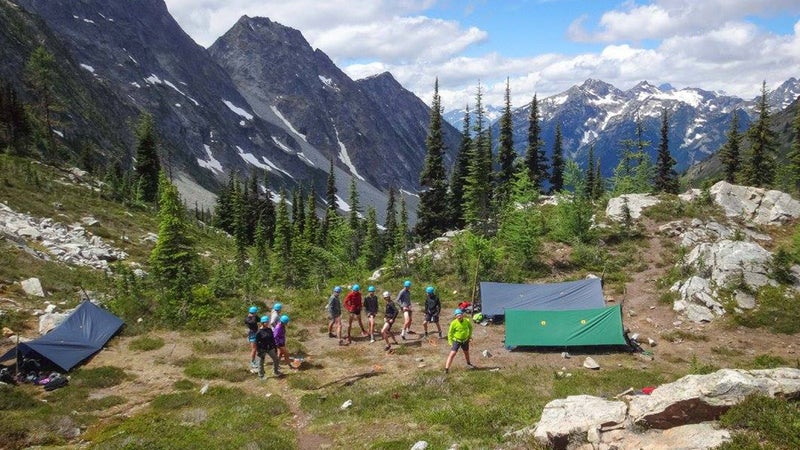
Select a Campsite
First: stay out of depressions. Finding ground that won’t collect rainwater is especially important in a shelter without an integrated floor. If you’re on a slope, pitch camp at the top. Nearby trees are useful to guy-out the tarp. If you can set up on flat land with trees three to six feet away from the edges of your tarp, you’re in good shape.
Blue polyethylene tarps, the kind you use as drop cloths when painting, are cheap and durable, but they are heavy and take up a fair bit of room in your pack. Halm uses silnylon, a lightweight but delicate material that packs down tightly. Northwest Outward Bound School uses urethane-coated nylon tarps, a middle ground between the two. They’re all fine choices.
One last thing that goes for every shelter in a wooded area: look for widow makers–dead branches that could fall without warning—and pitch camp elsewhere if you see one.
Buy: An 8×10-foot tarp for a solo shelter; 12×14 feet for four to five people. Blue poly tarp ($7) or ($85), depending on how much weight matters to you.
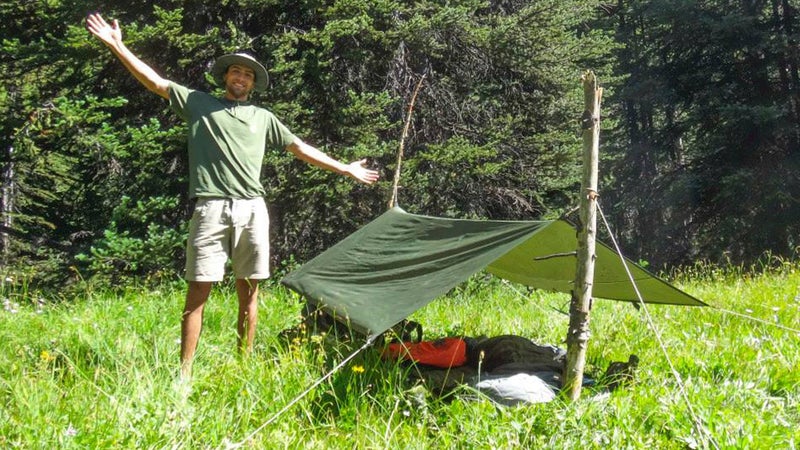
Set Up a Ridgeline
Trees are great for tying off a ridgeline to form the peak of your tarp. They’re free, and you don’t have to pack them. If you can’t count on finding trees every night, use a pair of trekking poles, boat paddles, or whatever else will reliably hold the weight of the tarp. Tie a trucker’s hitch or tautline hitch if tying to a tree or a clove hitch if tying to a pole or paddle. The hitch should be adjustable so you can tighten it after rain causes the shelter to sag.
“We’ve found that using two [poles or paddles] on each end, to come together like a stretched-out X, provides more stability than just one,” says Halm, but that isn’t very ultralight if you’re into minimalism. “A higher tarp gets better airflow and is easier to get in and out of, but it does expose you to more weather. In high winds, set it a little lower. It’s nice to go about five feet off the ground if you can.” Parting words of wisdom: “Make the ridgeline a little higher than you want it to be, because when you tighten down the corners, it will pull down a little in the middle. And make it as tight as you can.”
Buy: About 25 feet of ��($5)
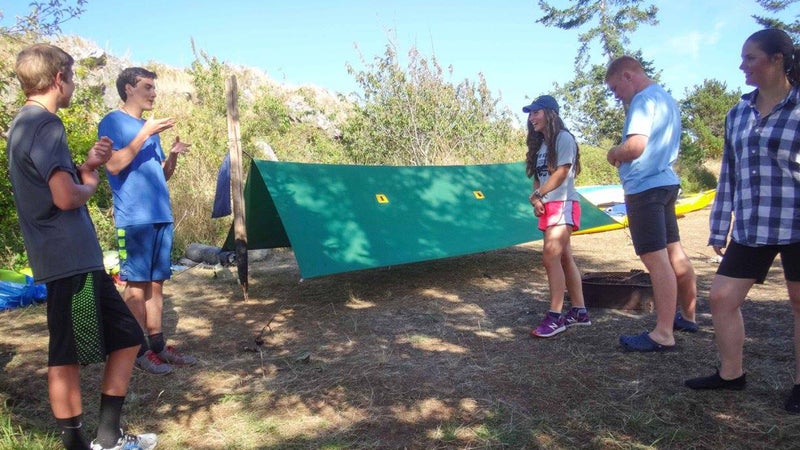
Tie Down the Corners
Tie off a length of paracord at the grommet on each corner of the tarp. Working corner by corner, pull the paracord until that quarter of the tarp is taut, and then tie it to a tree, tent peg, or even a heavy rock using an adjustable hitch. You want the tarp to be taut when you’re finished. If it sags or wrinkles, tighten the ridgeline and corners.
Raise the corners to allow for better airflow, keep you cooler, and cut down on the bugs. Lowering the corners reduces your sleeping room but keeps you drier in a downpour. Condensation plagues any tarp, tent, or hammock in cold weather. Tarps, being open shelters, are less prone to condensation buildup, but it can still be a problem. Aligning the shelter’s ends to the wind and opening up the corners cuts down on condensation. You’ll be colder, but it’s better to bring extra warm sleeping clothes and bedding than to suffer condensation and the resulting wet gear and body.
Buy: ��($6)
Make a Floor
“For ground sheets, we use simple black plastic that we buy in rolls,” Halm says. You can also buy a sheet of , coated nylon, or another small tarp. Whatever you use, lay your sleeping pad perpendicular to the ridgeline if you’re sharing the shelter, or parallel and directly under the ridgeline if you’re sleeping solo. Make sure the ground sheet isn’t extending beyond the tarp above, or it’ll funnel rain into the shelter.
“In really buggy periods, a tarp by itself can be pretty miserable,” says Halm. If you’re buying a commercial tarp, choose one that has a corresponding bug net that fits to the tarp as a floor. If that’s not an option, Halm suggests sewing bug netting to the bottom of your tarp so it drapes onto the ground.
Buy: A 6×8-foot floor if your camping solo. ground cloth��($17); ��($17)