New perk: Easily find new routes and hidden gems, upcoming running events, and more near you. Your weekly Local Running Newsletter has everything you need to lace up!
.
Up your two-wheeled fat-tire game with these tips from eight of the sportтАЩs very best.
Up your two-wheeled fat-tire game with these tips from eight of the sportтАЩs very best. (Sombrio and Dan Barham)
Darren Berrecloth on How to Ride in the Ready Position
This is the position every rider should be in when descending technical trail. It starts with your elbowsтАФthey should be bent as if you were in the middle of a push-up. Next, bend at the waist so your eyes are directly over the bars and your elbows point up. Finally, stand up on your pedals so your legs are slightly bent and your knees point out, away from the bike. Your lower back should be straight. Keep your eyes on the trail and youтАЩre ready to go do something rad.
This is the position every rider should be in when descending technical trail. It starts with your elbowsтАФthey should be bent as if you were in the middle of a push-up. Next, bend at the waist so your eyes are directly over the bars and your elbows point up. Finally, stand up on your pedals so your legs are slightly bent and your knees point out, away from the bike. Your lower back should be straight. Keep your eyes on the trail and youтАЩre ready to go do something rad. (Courtesy of Darren Berrecloth )
Ryan Leech on How to Wheelie
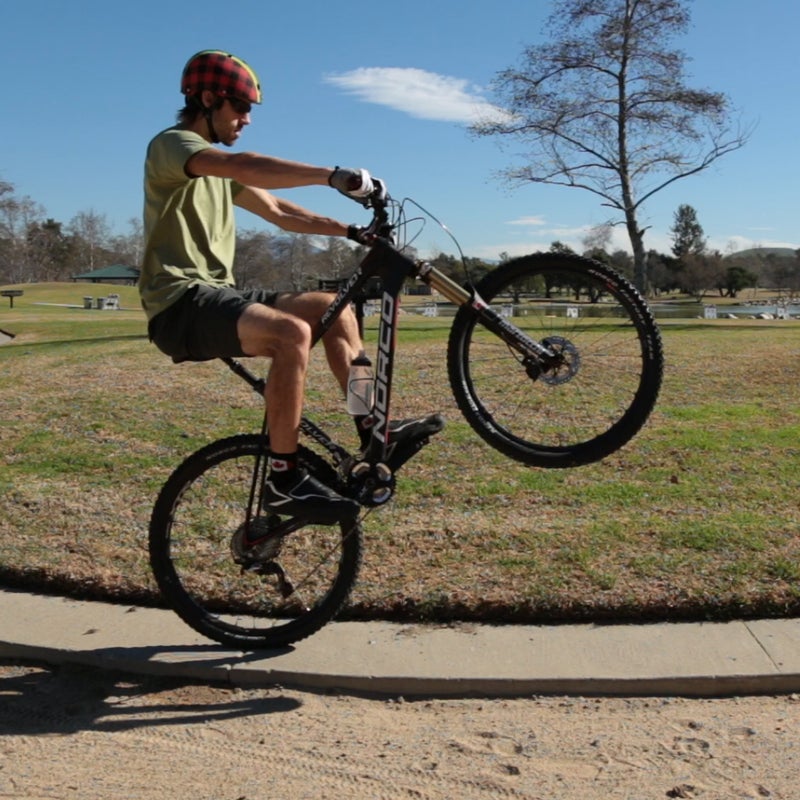
Learning to pop a wheelie makes getting over big obstacles much easier. Plus, it looks awesome. YouтАЩll want to start with flat pedals and a gentle, grassy hill. Roll down the hill at a walking pace, keeping all your weight in the saddle. With your bike in an easy gear, put your feet in the one-and-seven-oтАЩclock position. Next, bend your arms and shift your body weight over the handlebars, then push down on the bars to pop the wheel up while simultaneously shifting your weight back, straightening your arms and pulling back on the bars. As you do this, push your foot from the one oтАЩclock position straight down. When your front wheel is up, your arms should be straight. Keep pedaling smoothly. Turn your bars and stick your knees out to maintain side balance. Grab your rear brake if you feel like youтАЩre falling over backwards. To nail it, take LeechтАЩs .
Learning to pop a wheelie makes getting over big obstacles much easier. Plus, it looks awesome. YouтАЩll want to start with flat pedals and a gentle, grassy hill. Roll down the hill at a walking pace, keeping all your weight in the saddle. With your bike in an easy gear, put your feet in the one-and-seven-oтАЩclock position. Next, bend your arms and shift your body weight over the handlebars, then push down on the bars to pop the wheel up while simultaneously shifting your weight back, straightening your arms and pulling back on the bars. As you do this, push your foot from the one oтАЩclock position straight down. When your front wheel is up, your arms should be straight. Keep pedaling smoothly. Turn your bars and stick your knees out to maintain side balance. Grab your rear brake if you feel like youтАЩre falling over backwards. To nail it, take LeechтАЩs . (Courtesy of Ryan Leech)
Sarah Leishman on How to Corner
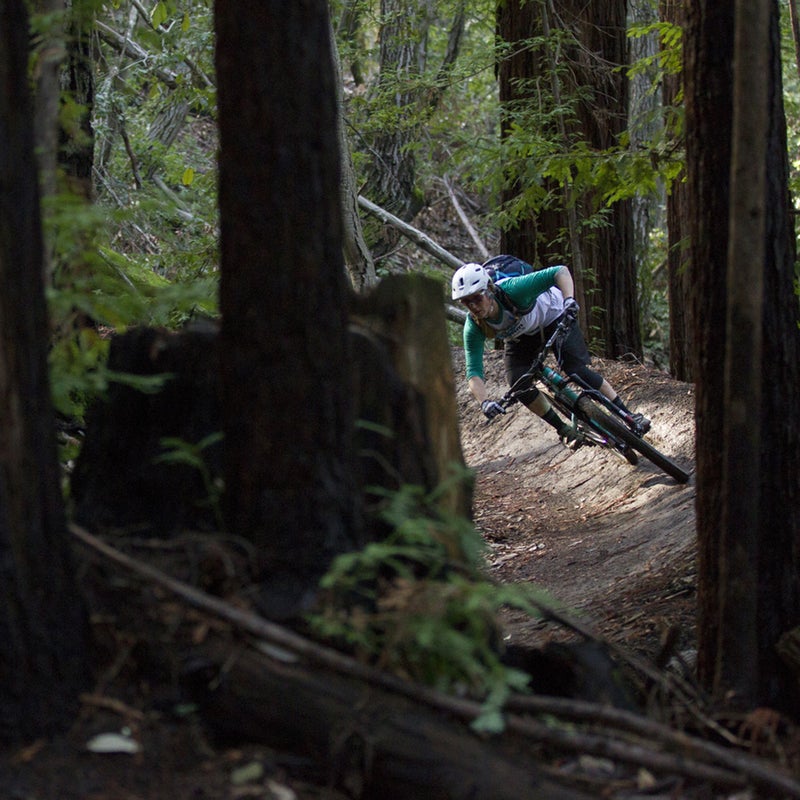
First, get your braking done before you enter the corner. Next, look through the exit of the corner (read: where you want to go). Finally, point your belly button through the exit of the turn. I think of it as keeping my head on a swivelтАФmy eyes look through the exit and my body follows.
First, get your braking done before you enter the corner. Next, look through the exit of the corner (read: where you want to go). Finally, point your belly button through the exit of the turn. I think of it as keeping my head on a swivelтАФmy eyes look through the exit and my body follows. (Gary Perkin and Juliana Bicycles)
Eric Porter on How to Bunny Hop
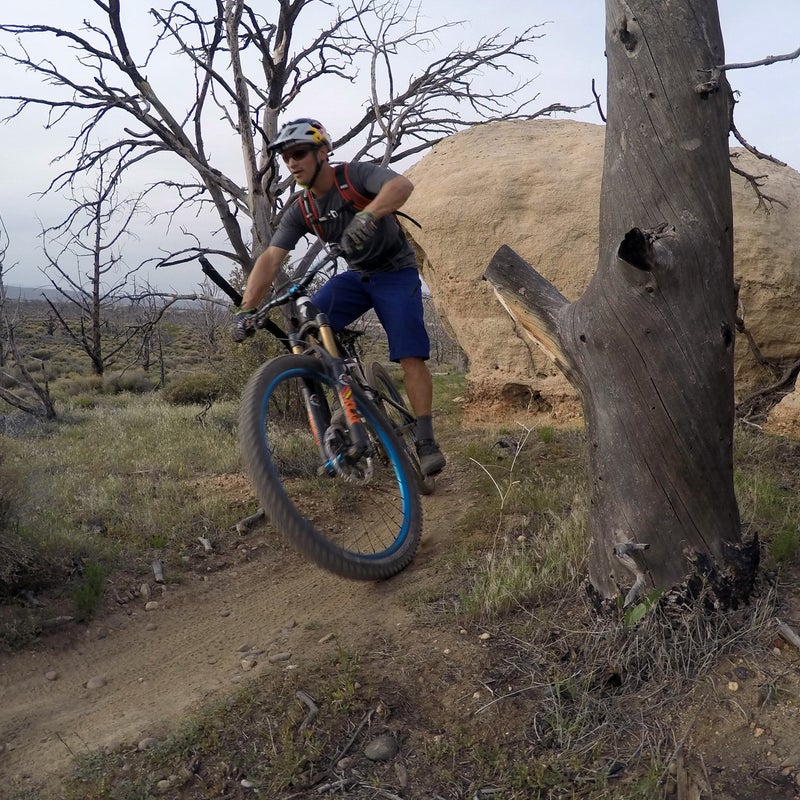
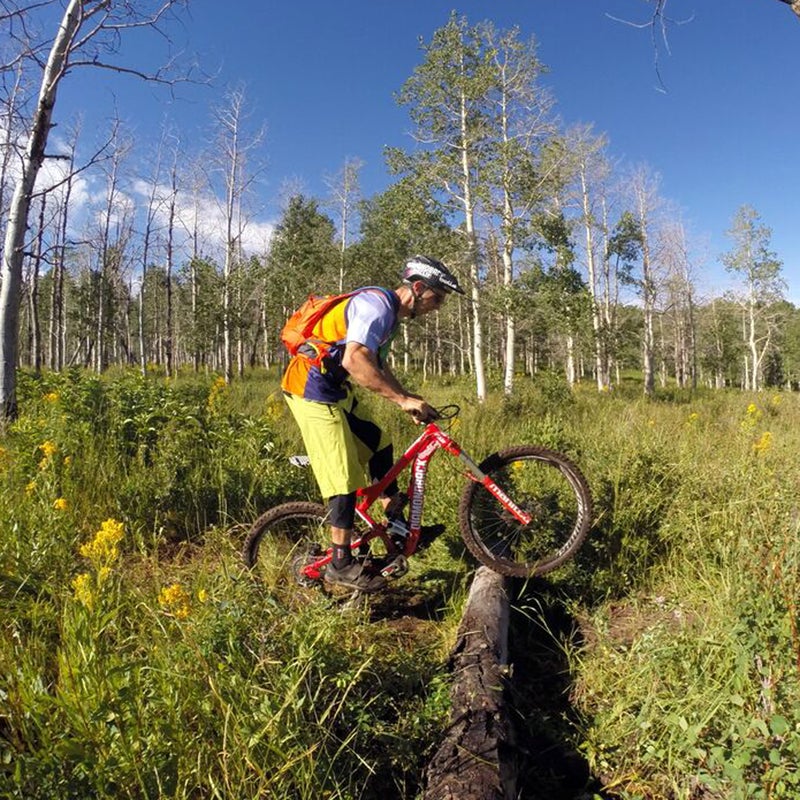
Bunny hopping involves lifting your front and then back wheels over an obstacle, without the help of clipless pedals. First, get into the тАЬreadyтАЭ position. (See slide 2 for reference.) Just before you hit the log, compress your fork by leaning down on it, and then as it rebounds, shift your weight back and lift your front wheel off the ground so that it just meets the top of the log. Then, in one motion, push your front wheel off the top of the log while shifting your weight forward. Practice on a curb or sidewalk.
Bunny hopping involves lifting your front and then back wheels over an obstacle, without the help of clipless pedals. First, get into the тАЬreadyтАЭ position. (See slide 2 for reference.) Just before you hit the log, compress your fork by leaning down on it, and then as it rebounds, shift your weight back and lift your front wheel off the ground so that it just meets the top of the log. Then, in one motion, push your front wheel off the top of the log while shifting your weight forward. Practice on a curb or sidewalk. (Courtesy of Eric Porter)
Danny MacAskill on How to Do a Nose Wheelie
Advanced riders, this oneтАЩs for you. Build up speed, keeping your weight centered over the saddle seat, then gently pull the front brake. When you start to feel your rear wheel lift off the ground, lean forward to elevate the tire even more. The key to success: the right combination of shifting your weight and pulling the brake. Too much brake and you fly over your bars. Too little and the rear wheel wonтАЩt come off the ground.
Advanced riders, this oneтАЩs for you. Build up speed, keeping your weight centered over the saddle seat, then gently pull the front brake. When you start to feel your rear wheel lift off the ground, lean forward to elevate the tire even more. The key to success: the right combination of shifting your weight and pulling the brake. Too much brake and you fly over your bars. Too little and the rear wheel wonтАЩt come off the ground. (Bartek Wolinski)
Katie Holden on How to Brake
Braking properly is the key to riding safer with more control. First tip: only use one finger. Disc brakes have plenty of power and you only need one finger to engage them. Second tip: the notch at the edge of your brake lever is meant for your index fingerтАФuse it. Tip number three: brakes work when the wheels are moving. If you lock the brakes and go into a skid, you have neither control nor traction. Think about braking like you think about dimming a light switch. You donтАЩt want to turn the light all the way off.
Braking properly is the key to riding safer with more control. First tip: only use one finger. Disc brakes have plenty of power and you only need one finger to engage them. Second tip: the notch at the edge of your brake lever is meant for your index fingerтАФuse it. Tip number three: brakes work when the wheels are moving. If you lock the brakes and go into a skid, you have neither control nor traction. Think about braking like you think about dimming a light switch. You donтАЩt want to turn the light all the way off. (Sombrio and Dan Barham)
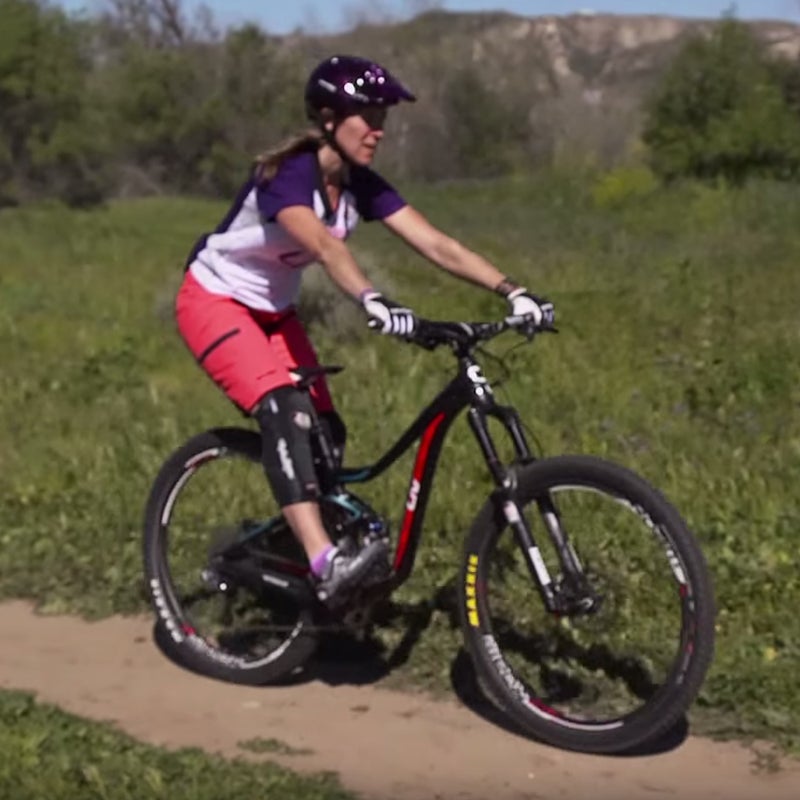
Leigh Donovan on How to Ride Skinnies
First, relax and make sure you have your fingers over both your front and rear brake levers. Next, enter the skinny, making sure youтАЩre centered over both your wheels. Once youтАЩre on the skinny, look ahead to where you want to goтАФthe exit. If you find yourself off balance, shift your body to compensate while staying low and centered on the bike.
First, relax and make sure you have your fingers over both your front and rear brake levers. Next, enter the skinny, making sure youтАЩre centered over both your wheels. Once youтАЩre on the skinny, look ahead to where you want to goтАФthe exit. If you find yourself off balance, shift your body to compensate while staying low and centered on the bike. (iChooseBikes/)
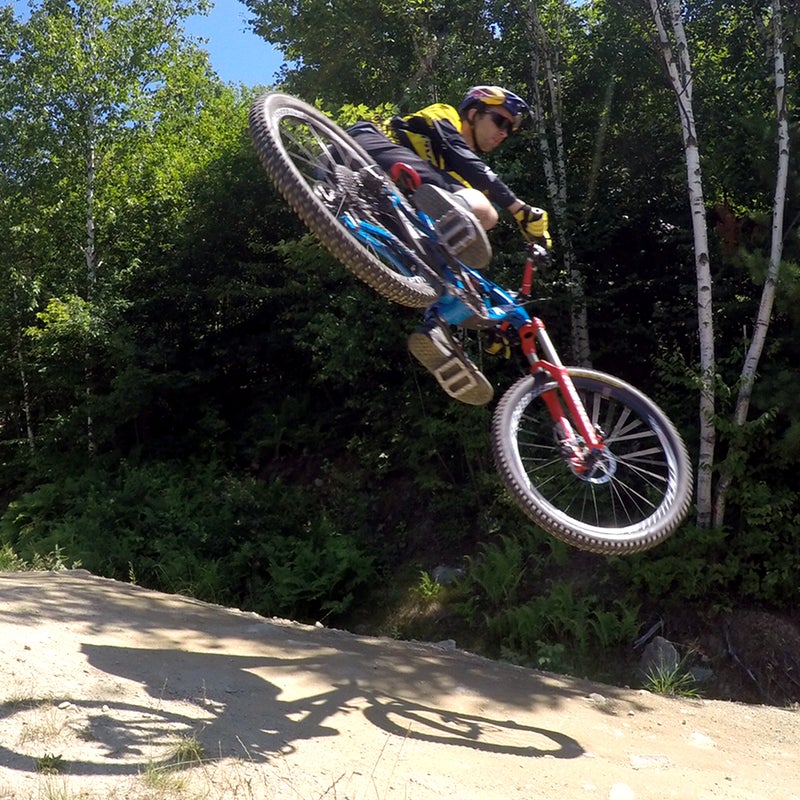
Aaron Chase on How to Do a Whip
A whip is where you get your bike sideways in the air. First, find a jump you feel comfortable with. Second, think about the approach. YouтАЩll want to be almost at the apex of your turn when you reach the lip of the jump in order to get sideways in the air. Finally, once youтАЩre airborne, toss your bike and hips sideways, keep your head pointing straight down the ramp.
A whip is where you get your bike sideways in the air. First, find a jump you feel comfortable with. Second, think about the approach. YouтАЩll want to be almost at the apex of your turn when you reach the lip of the jump in order to get sideways in the air. Finally, once youтАЩre airborne, toss your bike and hips sideways, keep your head pointing straight down the ramp. (Courtesy of Aaron Chase)