
We’ve all been there. You’re ten miles into your first day on the trail, and the discomfort hits you. The pain started in your shoulders but has slowly moved to your lower back. You grasp for any strap you can reach and wrench it down. Maybe that helps for 30 minutes, or even an hour, but the pain returns with vengeance. Adjusting your backpack properly seems like it should be simple, and it’s easy to take for granted until you’re struggling down the trail, ruing the day you didn’t take the time to dial in the fit. Don’t be that person. Here are my tips for getting off on the right foot.
Buy the Right Pack for Your Body Type
Going into a specialty retailer is always a smart decision when investing in a pack. Most associates are well trained on how to measure your body and recommend the right pack for you. But if you’re buying online, you’ll want to make sure to get the correct measurements of your torso. Grab a friend and have them measure from your to the . (The iliac crest is the very top of your hip bone, and the C7 vertebrae is the base of your neck.) The easiest way to identify your C7 is to look directly at the ground and feel for the vertebrae that sticks out farthest on the back of your neck. This measurement will help you decide what size pack to get—most come in small, medium, or large, based on torso length in inches. But sizes are not uniform across companies, so check the brands’ websites for specific measurements.
Adjust Your Pack to Your Body
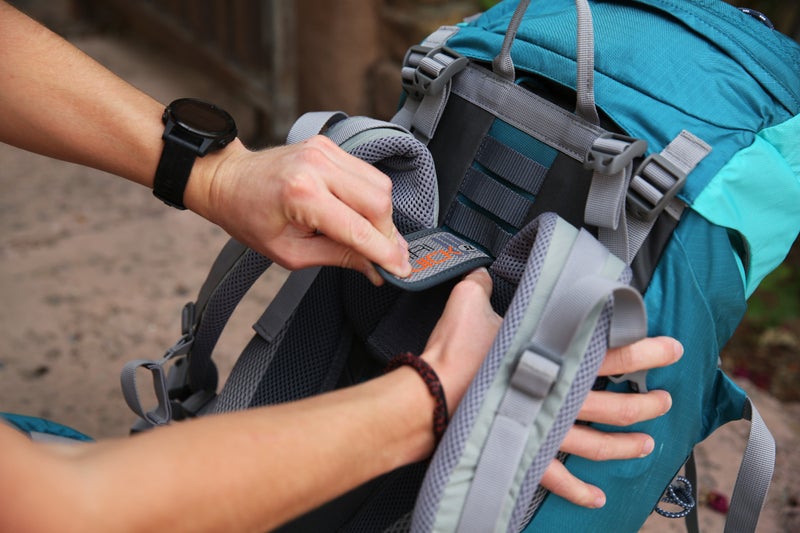
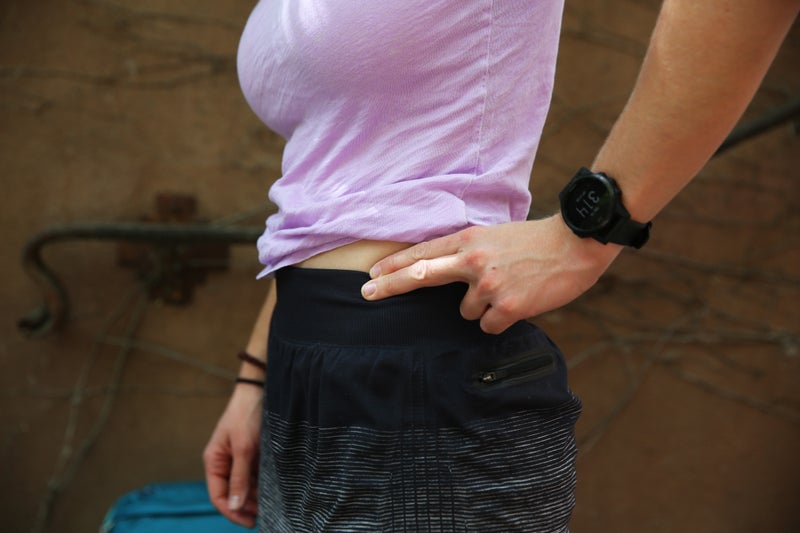
So you’ve got your shiny new pack. Now it’s time to fit it. Most packs have adjustable hip sections and torso lengths; read your pack’s manual on how to adjust it properly. Start with your hip straps and make sure each end of the belt comes around the front of your hips, about two or three inches from the front of your iliac crest. Next, adjust the torso to the measurements you took in step one. Most packs have a rail or Velcro and loop system to make it easy to lengthen or shorten the pack on the frame. Don’t be afraid to come back to this step and adjust accordingly if the pack isn’t carrying correctly on your body after steps three and four.
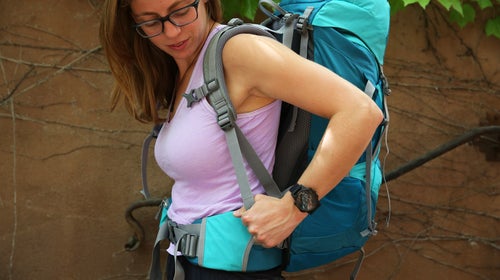
Start at Your Hips
You always want to fit your backpack from the hips up, starting with positioning the middle of the hip straps directly on top of your iliac crest. Give them a good strong tug, and make sure they’re tight. This will give you a solid foundation to build from. Many hikers have the common misconception that most of the weight should rest on your shoulder straps—and these people will feel the pain shortly into their hike. Follow the 80/20 principle: 80 percent of the weight should be on your hips and 20 percent on your shoulders. Your hips are where you carry your center of gravity and most of your power—use that to your advantage.
Adjust Your Shoulder Straps

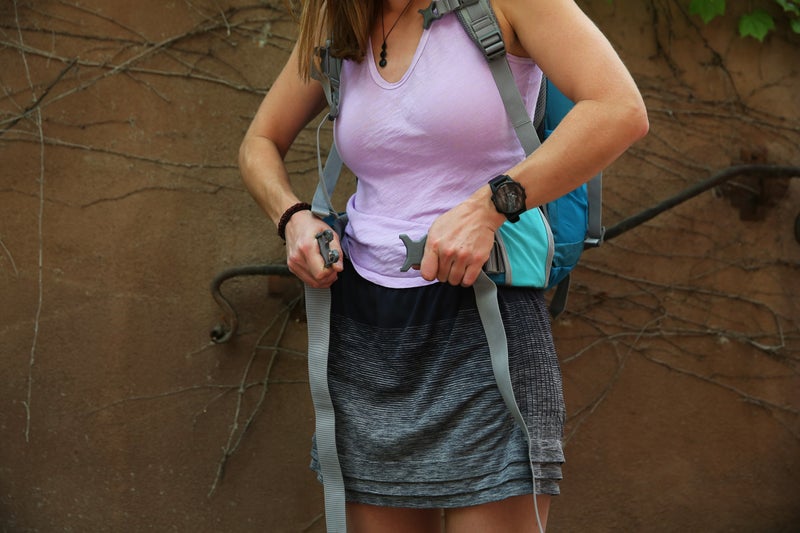
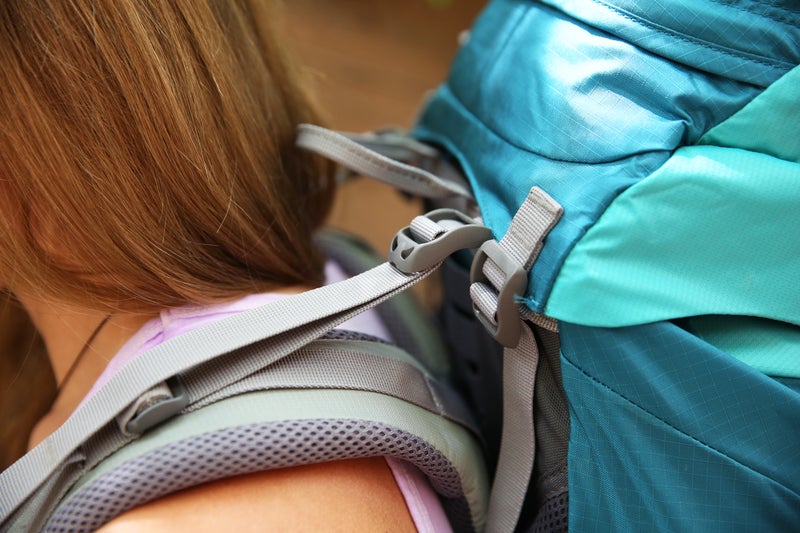
Next, you’ll want to fine-tune the fit of your shoulder straps. Pull the straps forward away from your body and then down toward your hips to get a natural fit. Be careful not to overtighten here, as the straps can dig into your shoulders. When fitted correctly, they should hug your shoulders from front to back without any gaps between the shoulder strap and your back. If you do have a gap, most likely your torso setting is a little too long. Crank the torso setting down by an inch and try again.
Finish It Off
The last two adjustments you’ll make on your pack are the load lifters and the sternum strap. Adjust your load lifters first by pulling down on the tab until the straps make a 45-degree angle. If you’ve overtightened, this will make the top of your shoulder straps pull away from your body. Next, adjust your sternum strap along the rails until the strap rests one inch below your collarbone. Buckle the strap and lightly grab the loose end of the strap and tighten until the strap slips through your fingers. Overtightening the sternum strap could throw off the fit of your backpack and, in extreme cases, restrict breathing. If your sternum strap is too tight, you’ll see the outside edges of your shoulder straps begin to lift off your chest.