

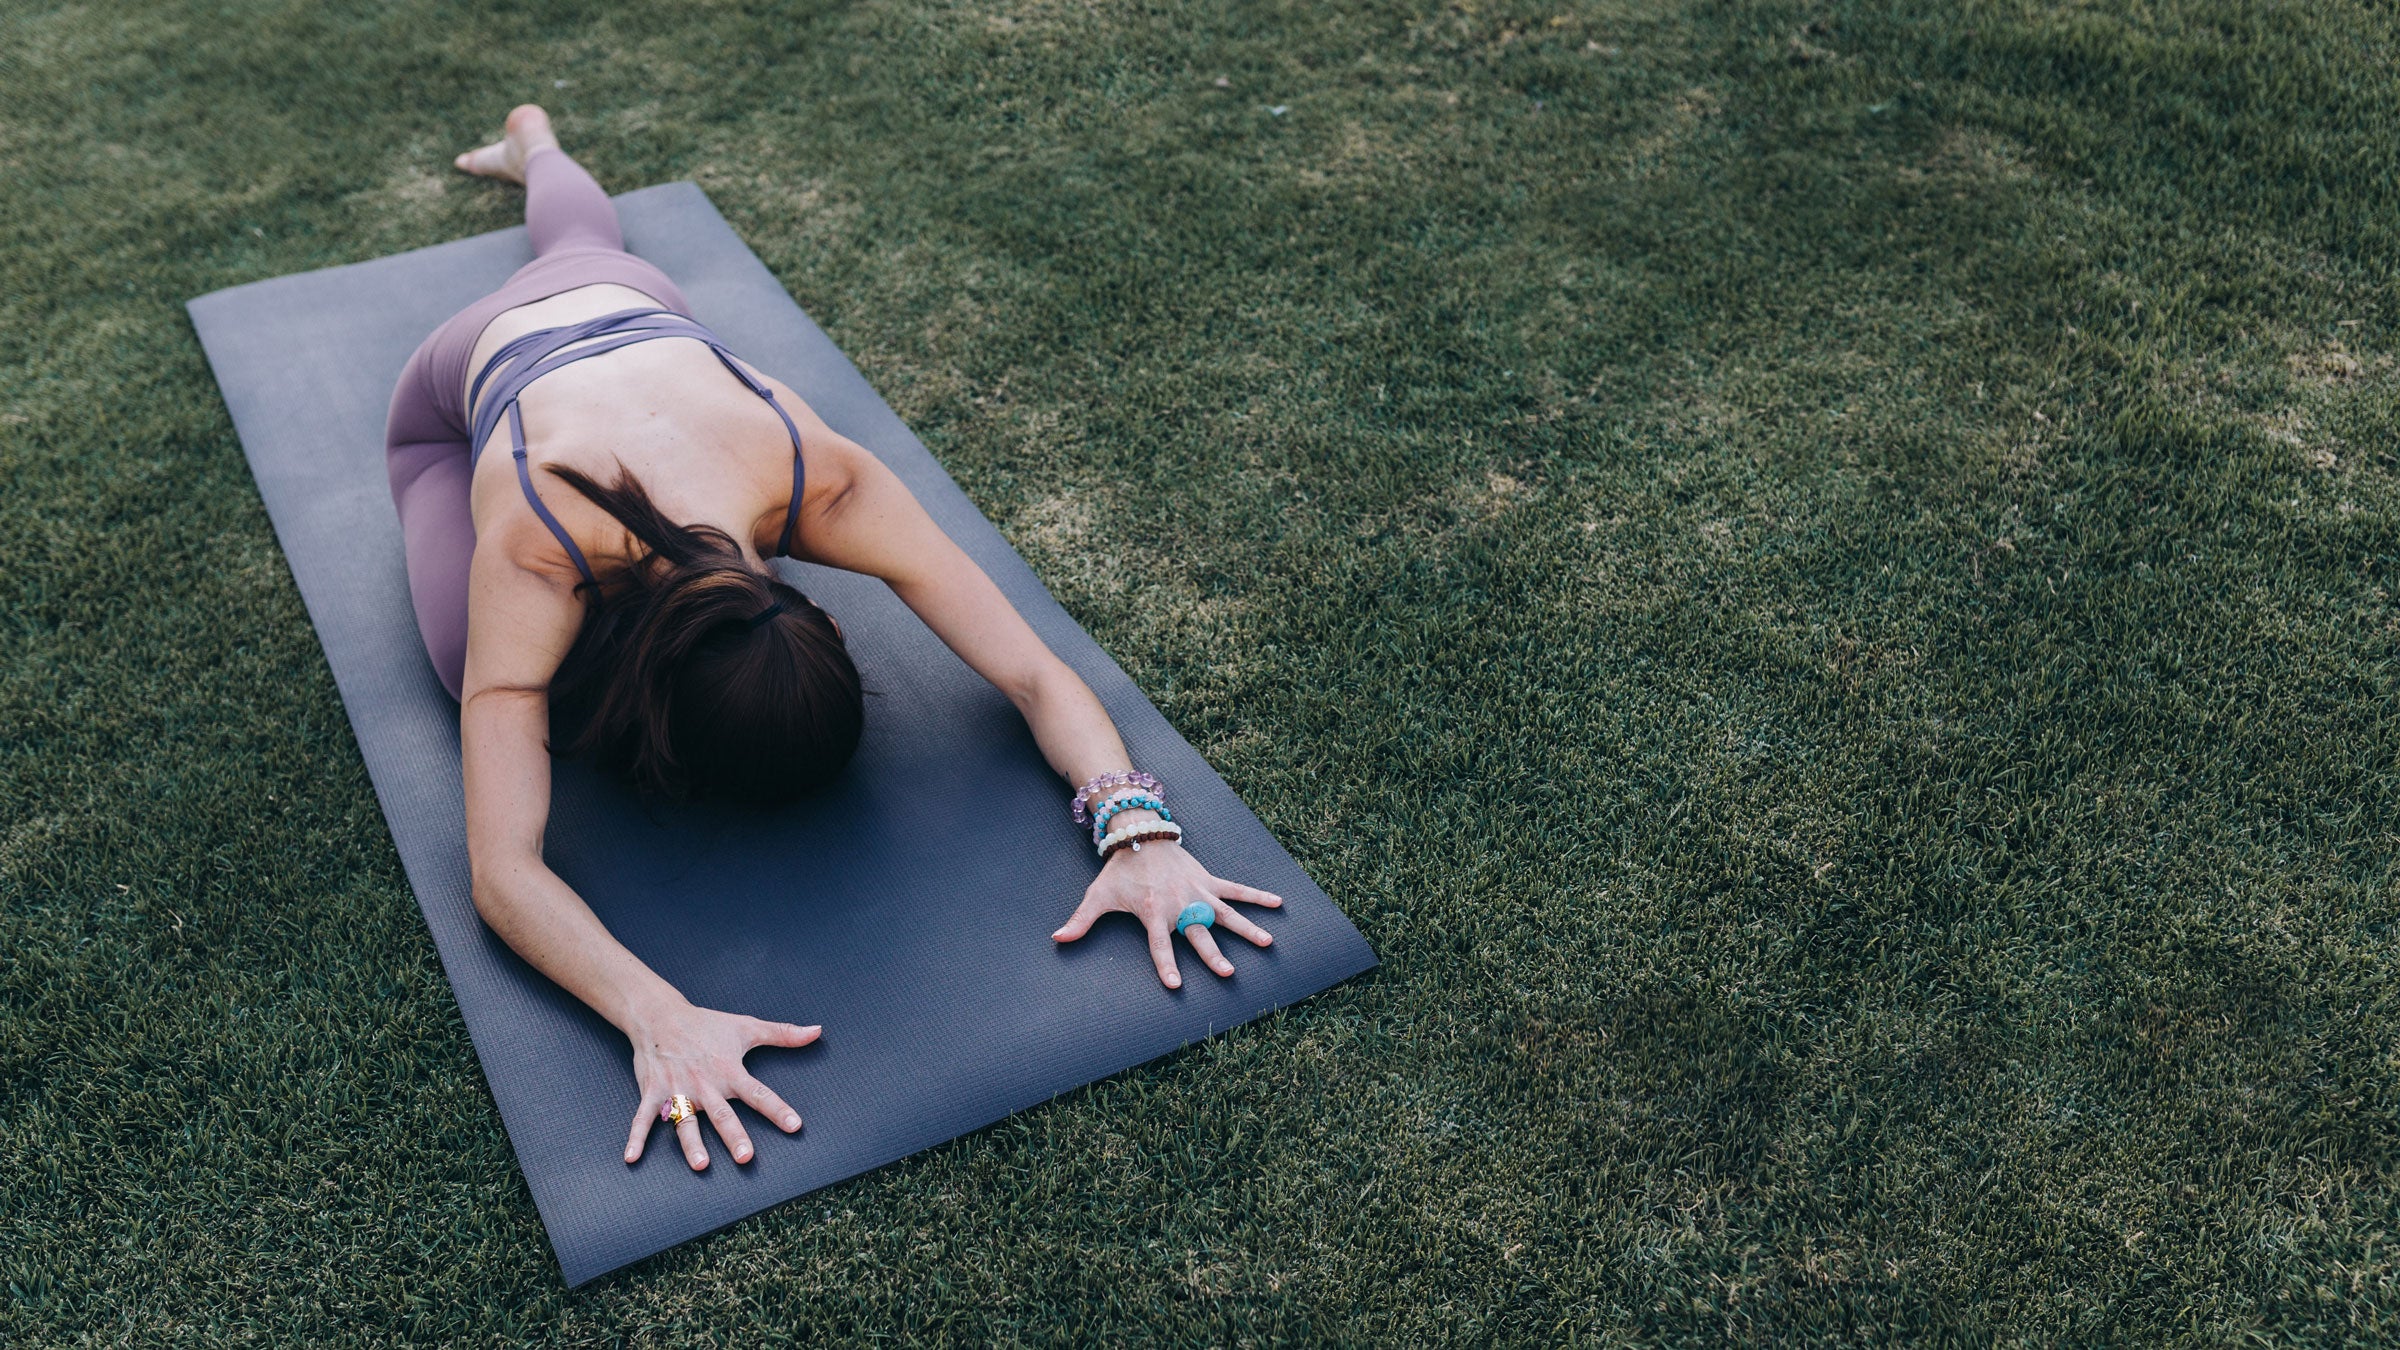
Ask most yoga students what they’d like to focus on during class and they’ll likely say hip openers. More specifically, they usually request the forward-folding version of that’s commonly known as Pigeon Pose.
Pigeon Pose certainly has its benefits. The intense stretch can offer a satisfying—some might say grimace-inducing—experience. The forward-folding nature of the pose also creates an opportunity for turning inward and downregulating thoughts and emotions.
But for some, those benefits come at a price.
What Can Make Pigeon Pose (Too) Intense?
The intensity that some of us experience during Pigeon Pose is a reminder that the popularity of a pose doesn’t make it appropriate for all bodies. In fact, the commonly accepted alignment for the pose requires a range of motion in the front hip that’s unrealistic for many of us.
If you experience difficulty in Pigeon it doesn’t necessarily mean that you need to try harder or breathe into it. It’s not you that’s the problem. It’s the pose.
The first issue is the shape of Pigeon Pose. One commonly taught version of the pose is hips squared forward, front knee bent at a 90-degree angle, with the front shin roughly parallel with the front edge of the mat. Many teachers no longer insist on this alignment, thanks to an understanding that bodies vary in joint positioning and range of motion. Yet this shape is still perceived by many students as the preferred expression.
Bringing the front shin almost parallel to the front of the mat demands almost 90 degrees of external rotation in the front hip. The average range of motion in that plane is 40 to 50 degrees. Attempting to force yourself into this right angle can cause your front knee to rotate slightly as compensation for the hip. But knees allow for very little rotation, especially when bent at 90 degrees. Attempting to go past your natural limits can be problematic for the ligaments and internal structures of the knee, including the meniscus.
A more commonly taught alternative of Pigeon is to deeply bend the front knee and bring the front heel toward the opposite hip. While that reduces the degree of hip rotation to within a normal range, it now demands the full normal range of knee flexion. For some students, shifting a significant amount of body weight onto a knee this deeply flexed can be uncomfortable, especially for those with less range of motion in knee flexion, knee osteoarthritis or bursitis, or a knee replacement.
The second structural concern with Pigeon Pose is that it involves significant pelvic asymmetry. We think of the pelvis as being completely rigid and the hip socket as the moving part in yoga poses. In reality, our pelvis has slightly moveable ligamentous joints, including the sacroiliac joints on both sides of the posterior pelvis. The joints only allow for very slight movement between the pelvis and sacrum, but for some students, even this small discrepancy between the tension on one side of the sacrum and the other can be uncomfortable or destabilizing.
Finally, there’s no such thing as “one size fits all” when it comes to Pigeon or any part of the physical practice of yoga. We vary in our joint shapes and positions, in our proportions, in our movement habits, in our postural patterns, and, frankly, in our preferences. The days of believing in rigid alignment in a pose or the fact that the pose you hate the most is the one you need the most are (hopefully) over.
5 Alternatives to Pigeon Pose
Regardless of what you do or do not experience in your knees, sacrum, or spirit, there are bound to be days when you’d prefer to be somewhere—anywhere—other than Pigeon Pose. What if you listened to that?
Fortunately, there are other options than suffering through a pose that, for whatever reason, is uncomfortable. Which alternative you choose depends on what works for your body and what aspect of Pigeon Pose you want to experience.
If you prefer a posterior hip stretch, you want a pose that takes one or both hips into flexion (folding forward at the hips) and external rotation (the thigh moving away from your body), such as Deer Pose, Easy Pose, Bound Angle, and Reclining Figure 4.
If you seek an adductor stretch, you want a pose with the knees wide, such as Bound Angle.
If you want to release physical tension, there’s potential for you to turn inward and experience the energetic shift that many students associate with Pigeon Pose in any of these poses, as long as you find a version that’s not overly intense.
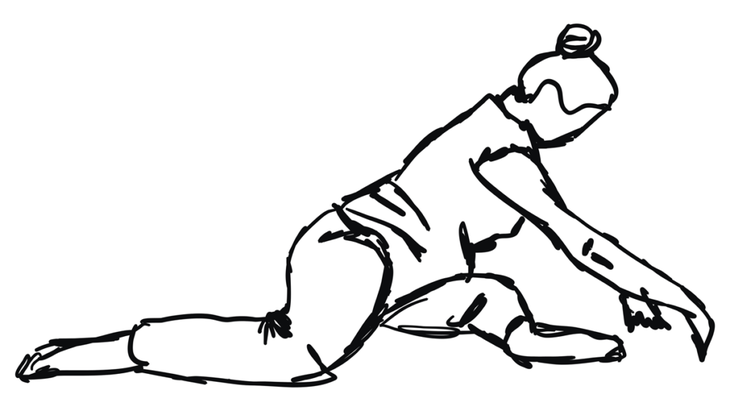
1. Deer Pose
Perhaps the most outwardly similar alternative to Pigeon is the Yin Yoga posture known as Deer Pose, which can be more comfortable for your front knee. As in the most intense version of Pigeon, the front leg takes a right angle but the pose allows the pelvis to tilt to the side and rests on the mat. The back knee bends and slides out to the side, with the thigh roughly at a right angle from the front leg, lifting the back leg sit bone. As you lean forward onto your hands, forearms or a prop, the back leg carries a little more of your body weight than it would if extended behind you in Pigeon.
The adjustment in pelvic position decreases the level of external rotation required by the front leg. The more you tilt the pelvis, the less external rotation you experience in the front hip.
How to: You can move into Deer Pose the same way you would enter Pigeon Pose, either from all fours or Downward-Facing Dog. Bring your right knee forward to the mat near your right wrist. Lower your left knee to the mat if it isn’t already. Ground your right sit bone as you bring your right shin roughly parallel to the front of the mat. Slide your bent left knee forward until your left thigh is roughly at a right angle to your right thigh. Lean your torso forward toward your right knee until you feel a gentle stretch along your right outer hip, then either prop yourself with straight arms, rest on your forearms, or use a prop to support your hands or chest. Breathe here. When you are ready, repeat on the other side.
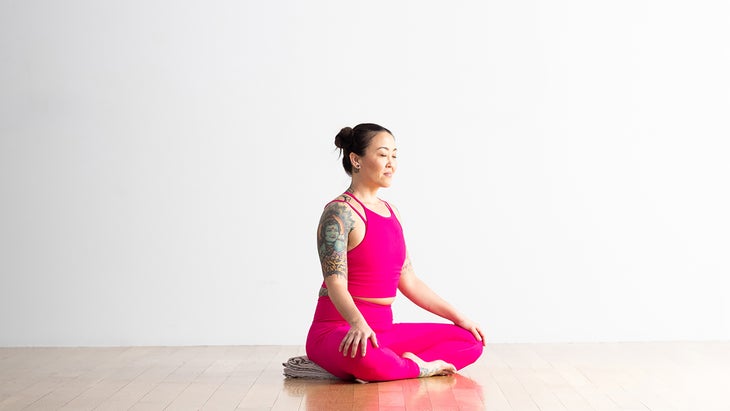
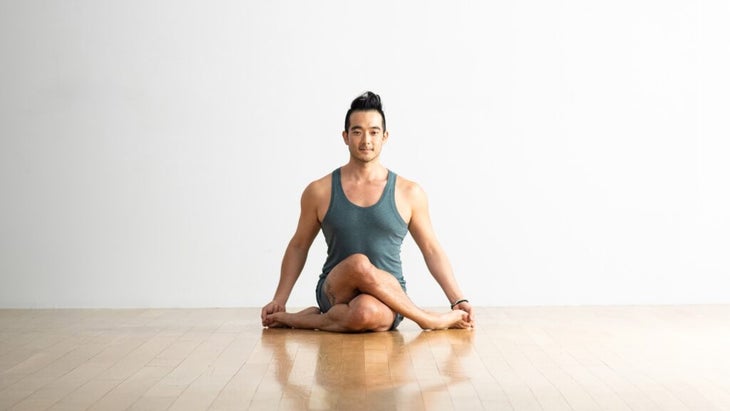
2. Easy Pose
This cross-legged sitting position engages the same front-leg action of Pigeon and Deer while bringing the back leg all the way forward to a cross-legged seat. This significantly reduces pelvic asymmetry. Grounding through both sit bones shifts some of your body weight from your knees toward your pelvis. If your knees are sensitive to load, wedge props underneath your outer thighs to help support the remaining weight.
How to: You can move toward Easy Pose the same way you would enter Pigeon, whether from all fours or Downward-Facing Dog. Bring your right knee forward to rest behind your right wrist and ground your right sit bone as you bring your right shin roughly parallel to the front of the mat. Swing your left leg forward and cross it in front of your right. Position your legs so that each knee aligns roughly with the sole of the opposite foot, and ground through the little toe side of both feet to slightly lift your outer ankles. Press evenly into both sit bones to lift and lengthen your back. Hinge forward until you feel a gentle stretch along your outer hips, then either brace yourself on straight arms, forearms, or a prop, and breathe. When you are ready, repeat with your other shin in front.
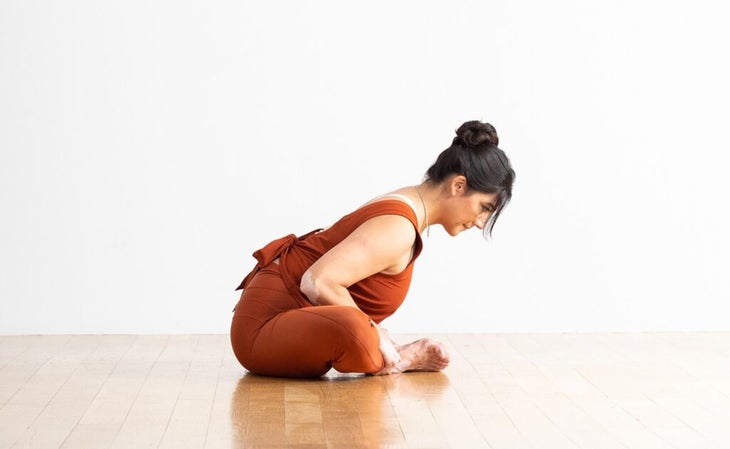
3. Bound Angle Pose
This seated forward bend offers the hip flexion and external rotation of Pigeon, but increases pelvic symmetry. The knees are positioned further away from the body than in Pigeon, which allows potential for an adductor stretch. Again, props wedged under the outer thighs can help support remaining body weight for sensitive knees.
How to: Set up for Bound Angle Pose as if you were coming into a cross-legged position but instead of crossing your legs, bring the soles of your feet together. Press evenly into both sit bones to lift and lengthen your back. Hinge forward until you feel a gentle stretch along your outer hips or inner thighs, then either brace yourself on straight arms, forearms, or a prop, and breathe.
4. Cow-Face Pose
This pose flips the script somewhat. It doesn’t look much like Pigeon, but the pose places both hips in flexion and external rotation, just like the front leg in Pigeon. Although bringing the legs close together offers less potential for an adductor stretch, resting the top knee on the bottom knee lifts the leg closer to the chest and front of the pelvis, providing an even better posterior hip stretch. You can accentuate that stretch by folding forward at the hips.
How to: Enter Cow-Face Pose from all fours or Downward-Facing Dog. Bring your right knee forward to the mat near your right wrist, then lower your right sit bone to the ground. Sweep your left leg forward to cross your inner left thigh on top of your right, bringing each heel may be close to the opposite hip. Your knees might even stack. Press evenly into both sit bones to lift and lengthen your torso. Hinge forward until you feel a gentle stretch along your outer hips, then either brace yourself on straight arms or lean your torso onto your top thigh or a prop, and breathe. When you are ready, retrace your steps and repeat on your other side.
5. Reclining Figure 4
This is the most supported alternative to Pigeon. Although Reclining Figure 4 features the greatest deviation from it in appearance, it retains hip flexion and external rotation of Pigeon. Lying on your back with your knee at a right angle and your ankle resting on the opposite knee allows you to take a position that stretches the relevant tissues without burdening the joints with your weight. Although the spine is now neutral rather than bending forward, the payoff of allowing the floor to support you can feel even more restful and introspective than a seated forward fold.
How to: Lie on your back with your knees bent and your feet on the mat. Lift your right foot and cross your right ankle over your left knee, then let your right knee lean away from you toward the front of the mat. You might already feel a gentle stretch around your outer hip or inner thigh. If not, lift your left foot, reach your hands between your legs to clasp the back of your left thigh, and bring both legs toward your torso until you feel the sensation you’re seeking. You can also sway your lower body slightly to either side to shift the location and emphasis of the stretch. Find somewhere you can comfortably stay and breathe. When you are ready, release both feet back to the mat and repeat on your other side.
RELATED:
About Our Contributor
is a offering group and one-on-one yoga sessions in Queenstown New Zealand, as well as on-demand at . Passionate about the real-world application of her studies in anatomy and alignment, Rachel uses yoga to help her students create strength, stability, and clarity of mind. Rachel also co-hosts the new .