

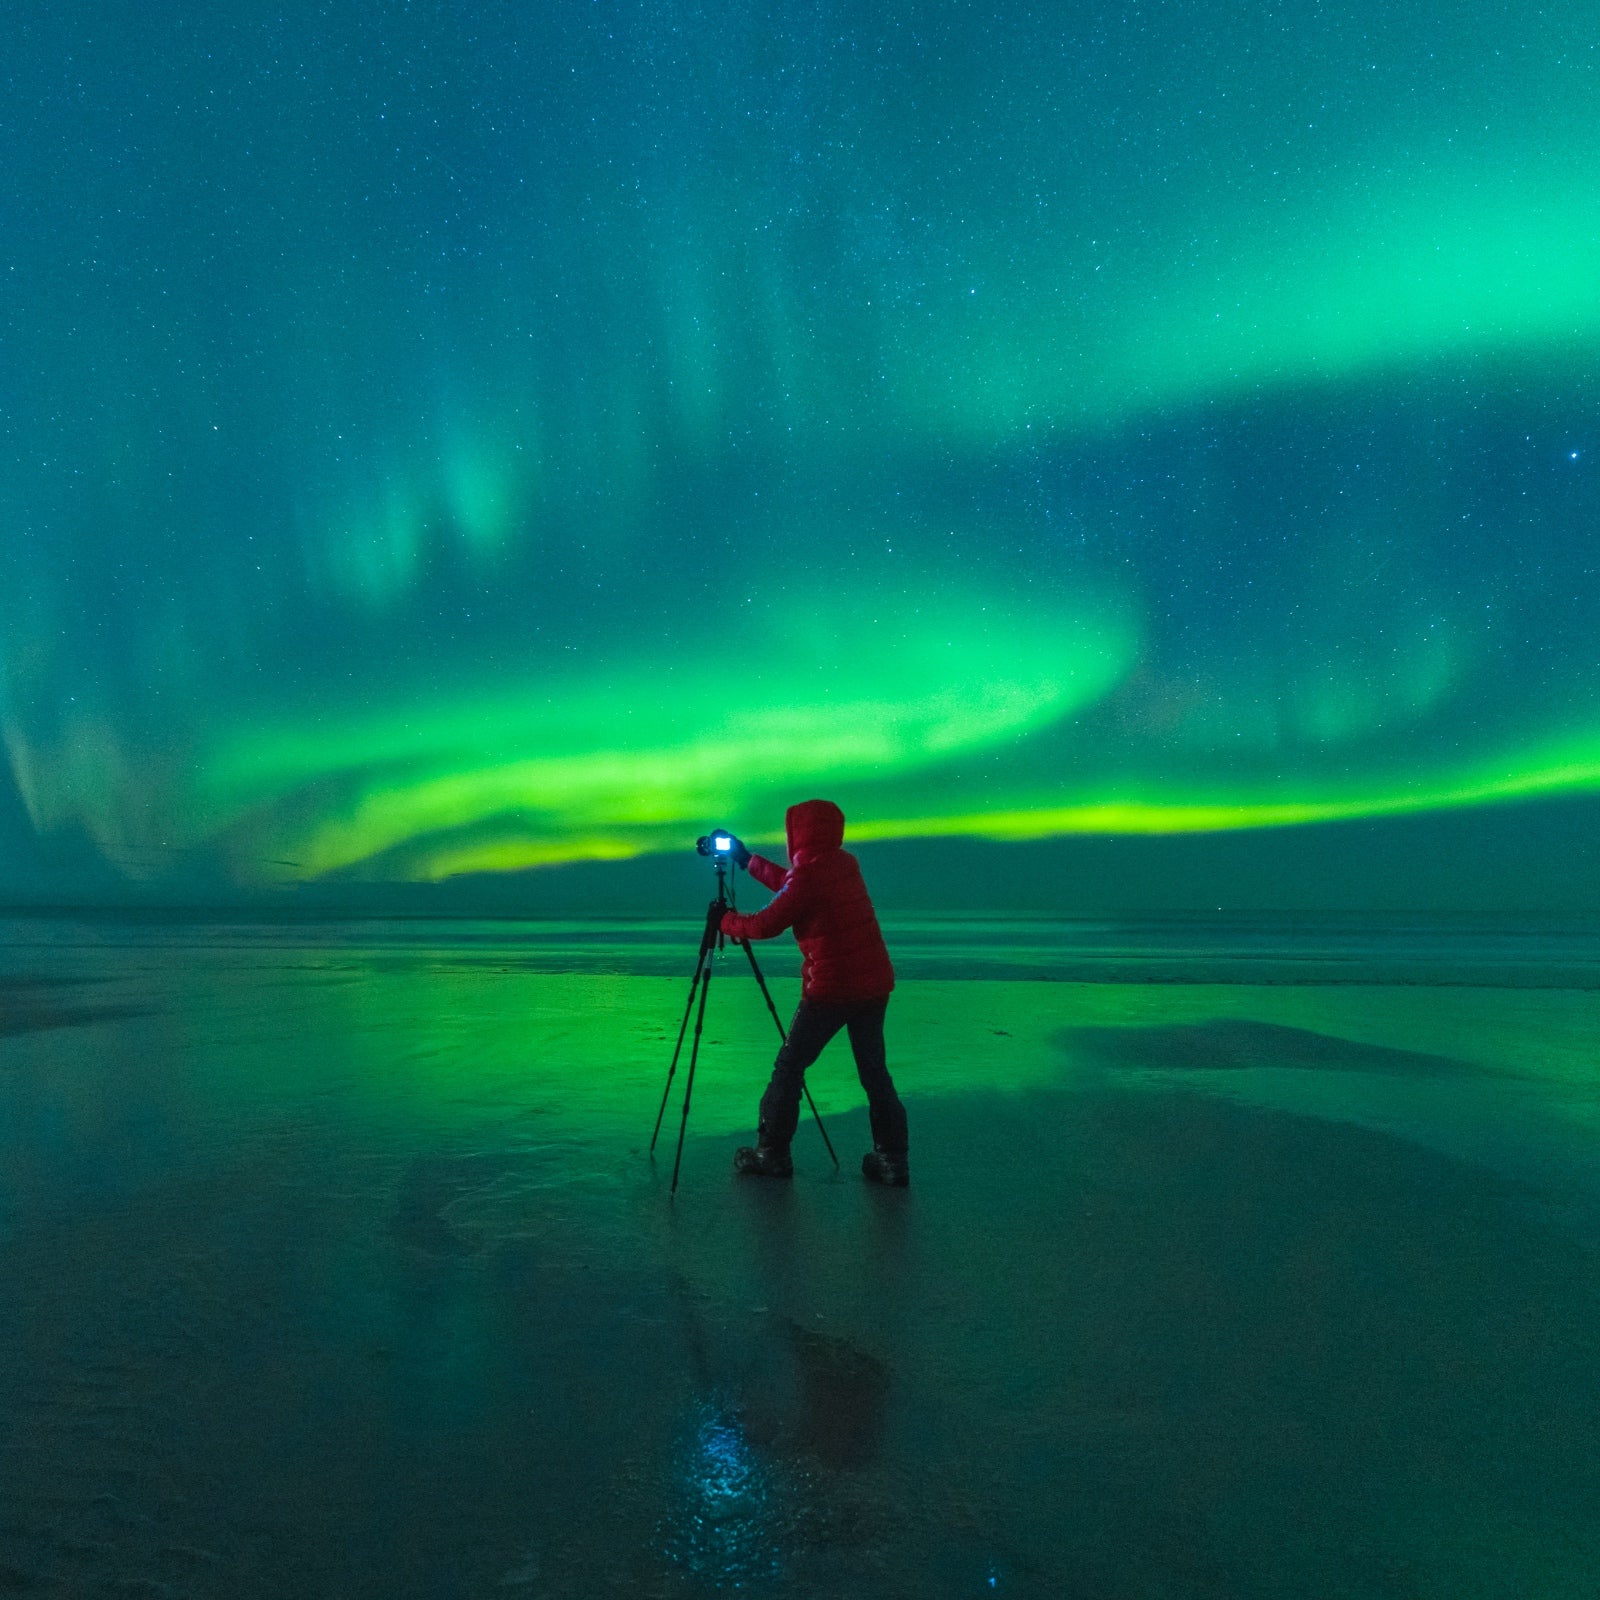
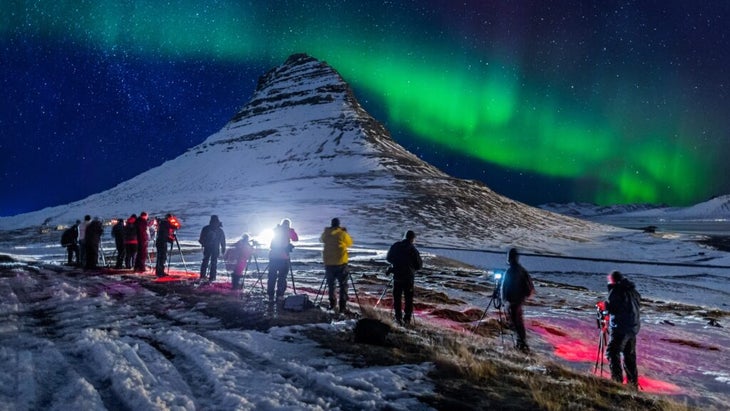
My iPhone has always been my aurora-hunting sidekick. For over five years, I’ve used it to monitor northern-lights activity around the globe, from fjords in Greenland to my local lakefront park in Cleveland. I’ve been blown away by its capabilities.
Heightened aurora visibility in the lower 48 is expected to continue through 2025—a phenomenon that we have the current solar maximum to thank—and my info will help you capture dazzling iPhone images the next time the northern lights appear. To increase your aurora-sighting odds, check out my guide to northern-lights watching in the U.S. first; once you’re in the best location, start shooting the skies with my step-by-step tips below.
If you buy through our links, we may earn an affiliate commission. This supports our mission to get more people active and outside. Learn more.
What Makes the Newer iPhones Great for Nighttime Photography
My history of photographing nightscapes with the iPhone camera has evolved since my early aurora-hunting days. Initially, I used it to follow space-weather apps and log test pics to determine the likelihood of a strong aurora display—a great trick. Cameras on even the older iPhone models are more sensitive to light than our eyes; they can pick up faint green hues, a sign that I’ve found means stronger displays could be on the horizon.
Once I caught sight of the lights, I’d stash my phone and turn to my professional Sony Alpha cameras to capture the show. That changed once I upgraded to the iPhone 15 Pro Max (from $1,100) for its powerful camera, impressive video specs, and low-light capabilities. The powerful new iPhone 16 Pro Max camera looks even more promising.
To be clear, the latest iPhones won’t capture northern-lights photos as well as, say, my . Yet built-in features like night mode let hobbyist aurora photographers log sharp and colorful night images once reserved for DSLRs and mirrorless cameras. Additionally, my iPhone aurora snaps are great for sharing in-the-moment sightings on social media.
When Apple introduced night mode in 2019, it was a game changer. The feature, available on iPhone 11 models and other newer iterations, enables long-exposure photography in low-light conditions. I noticed a major jump in the quality of nighttime images with the iPhone 15 Pro Max.
With these iPhone versions, night mode automatically activates and slows the shutter speed to anywhere from three to ten seconds in dark settings. Shutter-speed versatility is key. A longer shutter speed lets in more light to properly expose nighttime or minimally illuminated scenes. There is a catch, though: even the slightest handshake during those exposure seconds can blur the image. So I’m going to recommend a few pieces of inexpensive gear to invest in if you’re planning to spend time and energy in this pursuit.
Gear That Will Enhance Night Shots
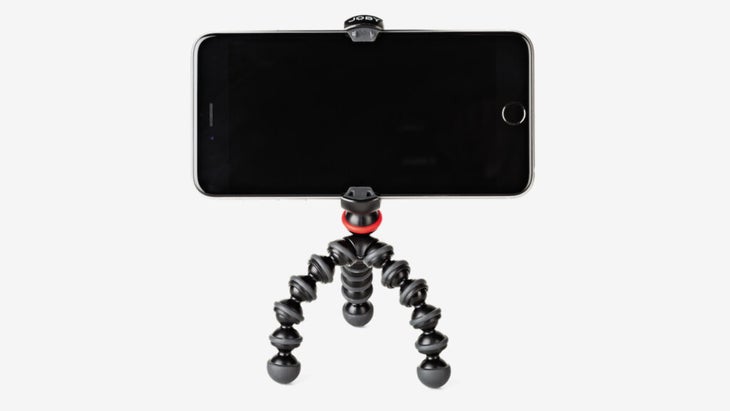
Buy a tripod or some sort of steadying device to stabilize your iPhone when snapping long exposures. I use a smartphone tripod, either a if you’re not traveling far and suitcase space isn’t an issue, or a more portable one like the above if I’m only packing carry-ons.
That said, I love to make my own backcountry tripod, whether it’s propping my camera up in the heel of a shoe for a vertical aurora photo or tilting it up against a water bottle for a better angle.
Another worthy addition to your iPhone aurora-photography kit is a portable power bank. I like this handy one from . Long-exposure photos, cold temperatures, and refreshing aurora apps like can quickly wipe your phone’s built-in battery. While I don’t need a power bank on shorter chases, it’s a must-have during six- or seven-hour sessions. I usually plug into it about halfway through a long aurora night. Note: Per , you’ll need to pack this power bank in your carry-on since it contains lithium batteries.
Where to Chase the Northern Lights for the Most Incredible Shots
For the best odds, head north—either to a high-latitude locale like Iceland and Alaska or states along the Canada border, such as Michigan, Minnesota, and Montana.
Also important: look for a dark-sky setting with minimal light pollution and relatively open skies toward the northern horizon, where the colors tend to appear.
How to Get the Best Photograph of the Northern Lights with an iPhone
You have two options for capturing auroras with an iPhone: either use the built-in camera or download an astrophotography app. In this guide, I’ll focus on the former, but I do recommend a versatile night-photography app like ($3) for those who crave more experimentation or for those with smartphones lacking the manual settings featured below.
Step 1: Take Test Shots
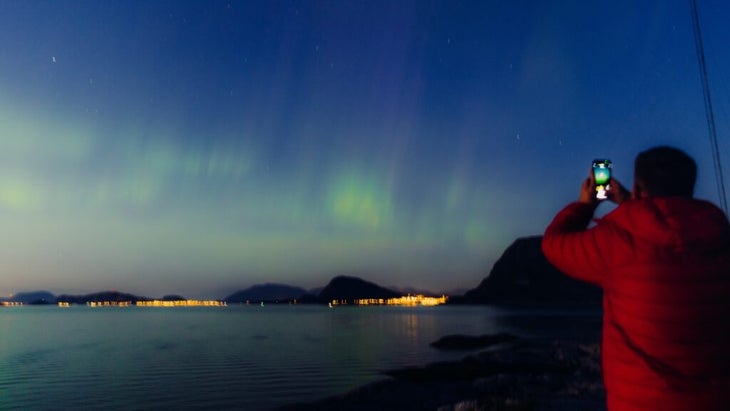
I kick off my aurora hunts by intermittently photographing the sky with my iPhone, which is more sensitive to light and auroras than the naked eye, to see if and where the lights may appear. In my experience, the ribbons start faintly, then pick up in intensity after anywhere from a few minutes to a half-hour or longer (or sometimes not at all—each show is different). I monitor the movements of those first few streaks and then angle my gear accordingly.
Generally, northern lights dance from east to west, according to the , although on particularly powerful nights, the ribbons may sashay in all directions, including overhead.
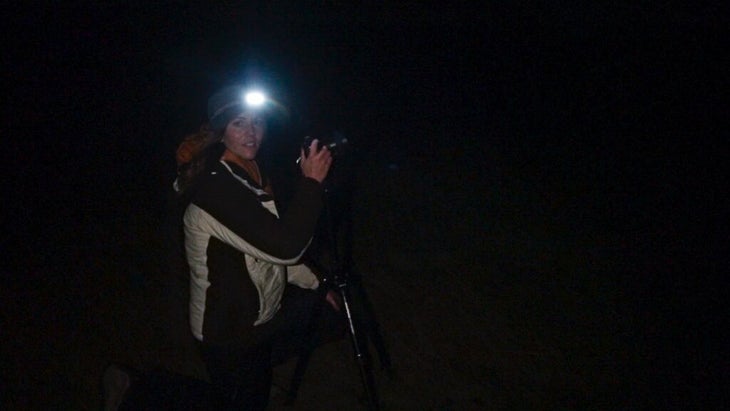
Step 2: Use a Tripod
If it’s not already set up, mount your iPhone to a tripod and point it in the direction of the swirls. Make sure your stand is somewhere sturdy and steady; with long-exposure photos, even a light vibration (such as the roof of a running car) can make the shot blurry.
While a tall tripod provides the most flexibility for preparing your shot, you can still make that short, more portable tripod option work if you get creative. I typically prop it on something stationary and out of the way of other aurora hunters, including a park bench, a sign, or a (closed-lid) trash can.
Step 3: Compose Your Photo
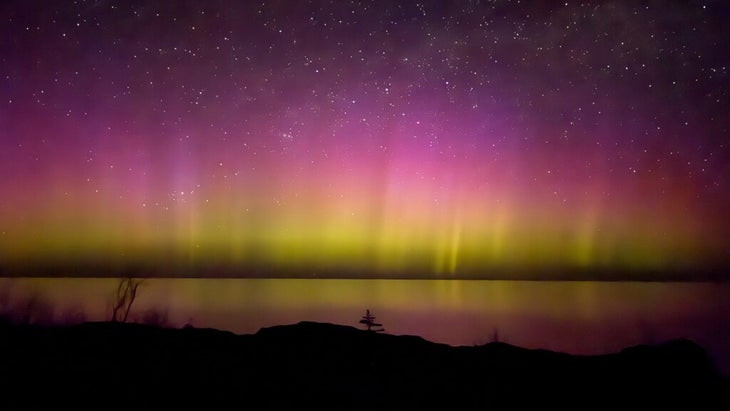
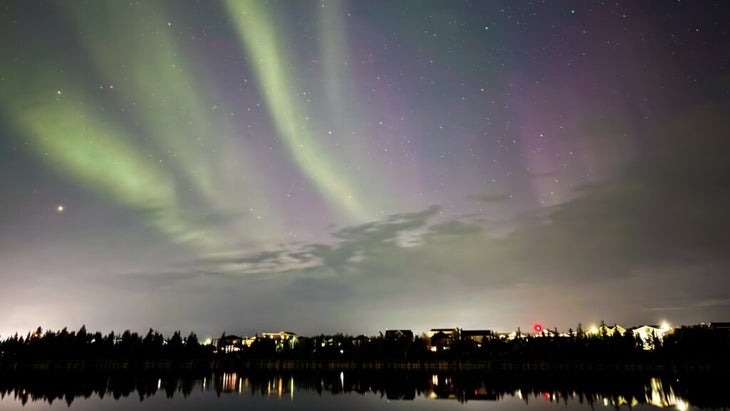
While scene setting isn’t essential, composition is among the quickest and easiest ways to level up your aurora photography. Instead of simply photographing skyward, try to get some foreground interest in your shots. I like to include my surroundings, such as the auroras above my rental car for road-trip vibes, or the lights above a grove of pines to illustrate a northern-forest backdrop. This works particularly well with bodies of water for that reflective glow, too.
Step 4: Photograph with the 1x Lens
The iPhone’s ultrawide-angle and telephoto lenses may work well by day, but the default 1x “photo” lens has the best night-sky capabilities. You can technically use night mode with the portrait option, but this is better reserved for street scenes or nights out on the town, not aurora landscape images.
Step 5: Adjust Your Shutter Speed in Night Mode
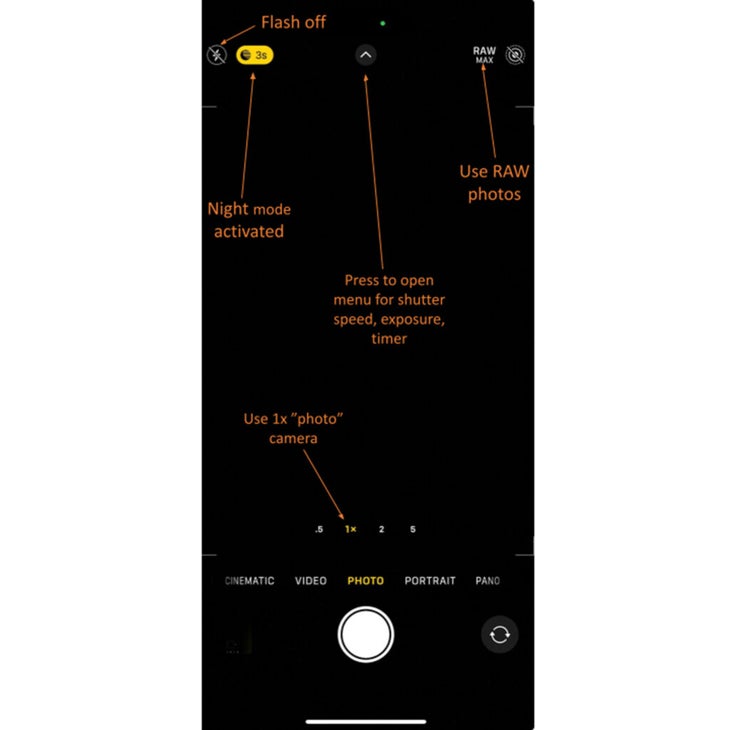
As previously mentioned, when your iPhone recognizes you’re about to shoot in the dark, night mode will automatically activate. Look for the crescent-moon icon on the top left of your screen to confirm it’s on.
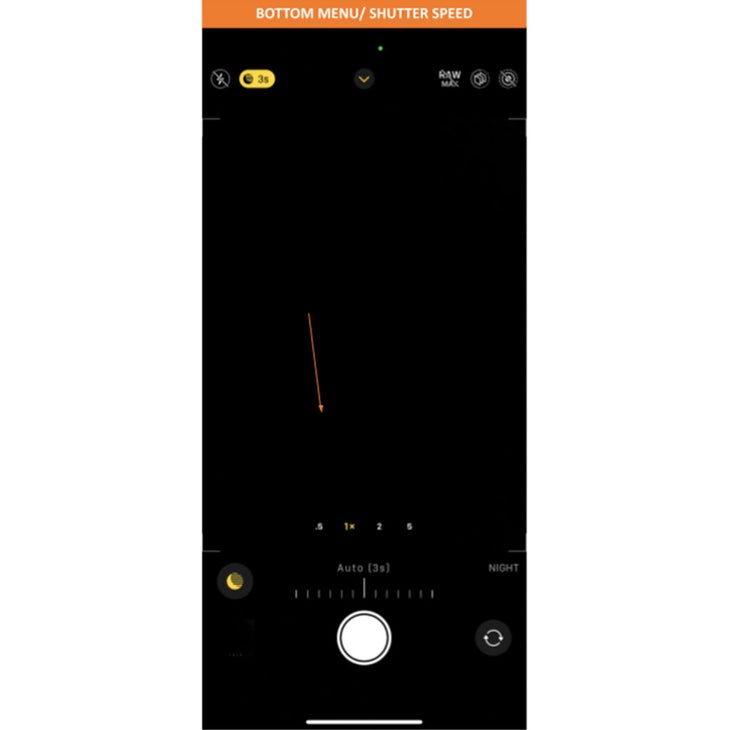
Stick with the recommended shutter speed or, better yet, adjust it yourself. To change it, tap the small center-screen arrow to the right of the crescent-moon icon; this opens a menu at the bottom of the screen where you can change settings like shutter speed (via the matching crsecent-moon icon in the bottom menu).
I recommend manually setting your shutter to around ten seconds, then taking a test shot and making small adjustments up or down. Generally, when the northern lights are fainter, you want a longer exposure to let in more light and auroral movement.
When the iPhone detects it’s on a stabilized tripod, you can even set your shutter to 30 seconds to capture more light. (But note that these longer 30-second shutters can make stars appear streaky, due to the earth’s rotation.)
If the lights are powerful and moving quickly, aim for a faster shutter speed, like three to five seconds. If you leave the shutter open too long during powerful storms, you’ll end up with a big green blob instead of distinct pillars and ribbons.
Step 6: Fine-Tune Exposure
You won’t always need to play with exposure, but it can improve trickier lighting situations, such as a sidewalk with strong street lights or a snowy field reflecting moonlight. To control exposure, click that same top arrow beside the crescent-moond icon to access exposure settings (marked by a circle with plus and minus symbols).
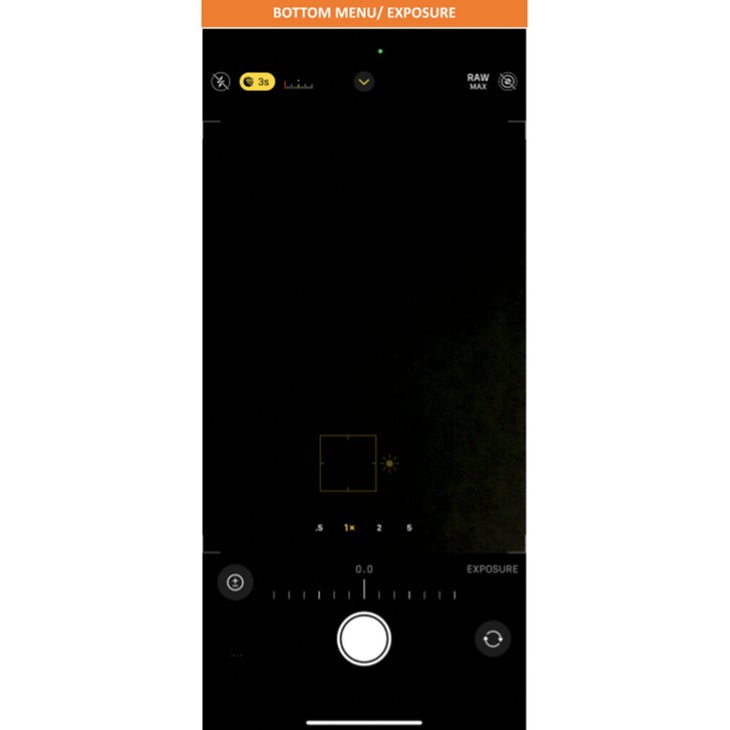
Go left into the negative numbers when the scene is too bright; go right into the positive numbers when you need to lighten the shot. Continue to take test snaps and play around with your settings to find the right formula. Since exposure needs depend more on your surroundings than aurora activity, you can make these tweaks while waiting for the northern lights to appear.
Step 7: Turn Off Your Flash
Your flash should automatically turn off in night mode, but if it activates for some reason, click the lightning symbol on the top left of your screen to ensure the circle is slashed (signaling that it’s off).
Step 8: Enable RAW Mode
RAW images record more detail than JPEGs; this image format (just as the name implies, raw and unprocessed) lets you adjust exposure and pull out colors when it’s time to edit.
According to Apple, devices with iOS 14.3 or later, and the iPhone 12 Pro and newer models, come with ProRAW format (Apple’s version of RAW). You can edit these images directly in your iPhone’s photo app or in a more professional-level mobile-editing software like my go-to, the (which is free to download and use on JPEG images, but costs $10 and up for the subscription required for RAW editing). To enable RAW when photographing, tap the “RAW MAX” white letters on the top right of your screen.
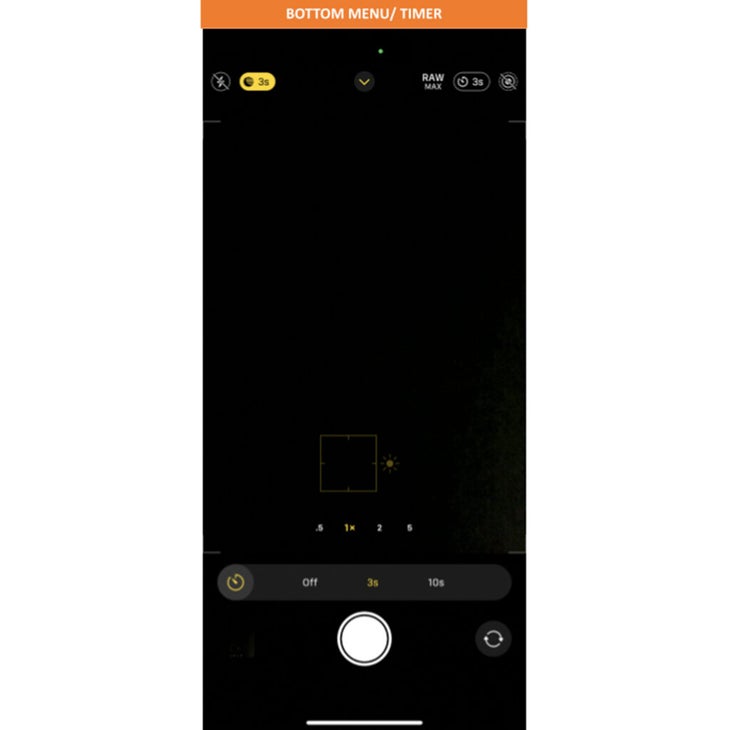
Step 9: Set a Self-Timer
When taking a long-exposure shot, any sort of movement, even hitting the shutter button, can introduce shake that will blur the photo. To avoid this, I use the three-second self-timer option to ensure my touch doesn’t introduce unwanted motion.
You can access self-timer mode the same way you find exposure and shutter-speed options: hit the top-menu arrow to the right of the crescent-moon icon, then peruse the bottom menu for a timer icon.
Step 10: Test, Adjust, Then Preserve Your Settings
Play around with your adjustments to determine what works best for your specific scene, then save your settings so you don’t lose all your fine-tuning when you click out of the camera app to monitor aurora apps or forecasts.
To save your adjustments, head to settings, then camera, then preserve settings. Click the slider button to save adjustments like camera selection, exposure, and night mode so your iPhone’s ready to log more dreamy northern-lights shots when you click back into the photo app.
�����ԹϺ��� and astrotourism writer Stephanie Vermillion has spent many sleepless nights chasing the northern lights and in remote far-flung locales, including Greenland sheep farms. Her upcoming book will be out December 3.